
00 QRV: Are You Ready?
This was the week of Q — no, not the Q from the James Bond franchise, but a tiny Arduino-based computer board. The UNO Q is featured in three articles about using it for amateur radio use. One is a comparison with other platforms, one details an AllStar build with Ampersand-ASL, and the other describes setting up a Q with WSJT-X and GridTracker2 for HF digital work.
It’s ARRL Field Day weekend! Enjoy yourself on the air, and hopefully you’ll be able to attend a local Field Day event. For some, it’s a contest. For others, it’s a party. For many of us, it is a fine excuse to visit with our radio friends.

01 Thank You…ARISS
Some things lodge themselves in your memory so firmly that you can still feel them sixty years later.
I was almost six years old on February 20, 1962, when John Glenn became the first American to orbit the Earth. I remember sitting transfixed, listening to his voice coming live from space. I didn’t fully understand what I was hearing, but I understood that a human being was up there, and his voice was coming down to us through the air. That moment planted something.
The Mercury program didn’t involve amateur radio, but the connection between space and radio has deepened considerably since then. Through ARISS — Amateur Radio on the International Space Station — astronauts have been talking to schoolchildren from orbit for decades. A kid with a handheld transceiver and lightweight beam antenna can have a two-minute conversation with a crew member on the ISS. I can’t think of a better recruitment tool for this hobby, or a better use of the radio spectrum.
So: thank you, John Glenn, for planting the radio bug in me. And thank you to everyone at ARISS who turned that wonder into something kids can still experience today. You bring the magic of radio into young hearts and minds.
02 New on EtherHam
With three new articles this week about the Arduino UNO Q board, it is apparent that I’m quite taken with this little ARM-based computer.
-
LightAPRS Gateway 1.0 — First Impressions — I received this device last night and had it on my network and working within 20 minutes.
-
Resurrecting a Forgotten HSR-USB as an AllStar Node — A forgotten HSR-USB board in the back of the drawer had no documentation and I had no memory of what frequency it was programmed on. Eventually, I was able to interrogate the SA818 chip to determine frequencies and CTCSS tones. The device is rescued from the drawer and back in service as AllStar node 578498.
-
The Arduino UNO Q: Affordable, Ready to Run, and Surprisingly Capable — In this piece, I develop a high-level comparison of the UNO Q with the Raspberry Pi 5, Dell Wyse 3040, and N-series mini PCs. If you’ve never thought about trying the UNO Q, start with this article.
-
How to Run AllStar on the Arduino UNO Q — Seeing that this had been done by a few others, I dove in and documented how to get Ampersand-ASL running on the UNO Q platform.
-
FT8 Digital Modes on the Arduino UNO Q: Installing WSJT-X and GridTracker2 — This was a big little project this week and a quite satisfying one, at that. The result? I have a dedicated WSJT-X/GridTracker2 platform attached to my Icom IC-7300MK2 transceiver. I no longer have to set up my ham radio laptop to do FT8 work, and even better, I can run FT8 remotely from another part of the house.
-
Build Your Own Substack Archive Search — I started publishing on Substack in 2022, and over the years, I’ve grown more and more frustrated by the truly abysmal search capability on that platform. So I did something about it with my own search system.
-
Weekly Reports: June 25, 2026 — The 20 and 17-meter bands should be reliable workhorses this coming week. Digital radio news was very light this cycle. On the Groups.io front, I checked 26 groups with 465 messages.
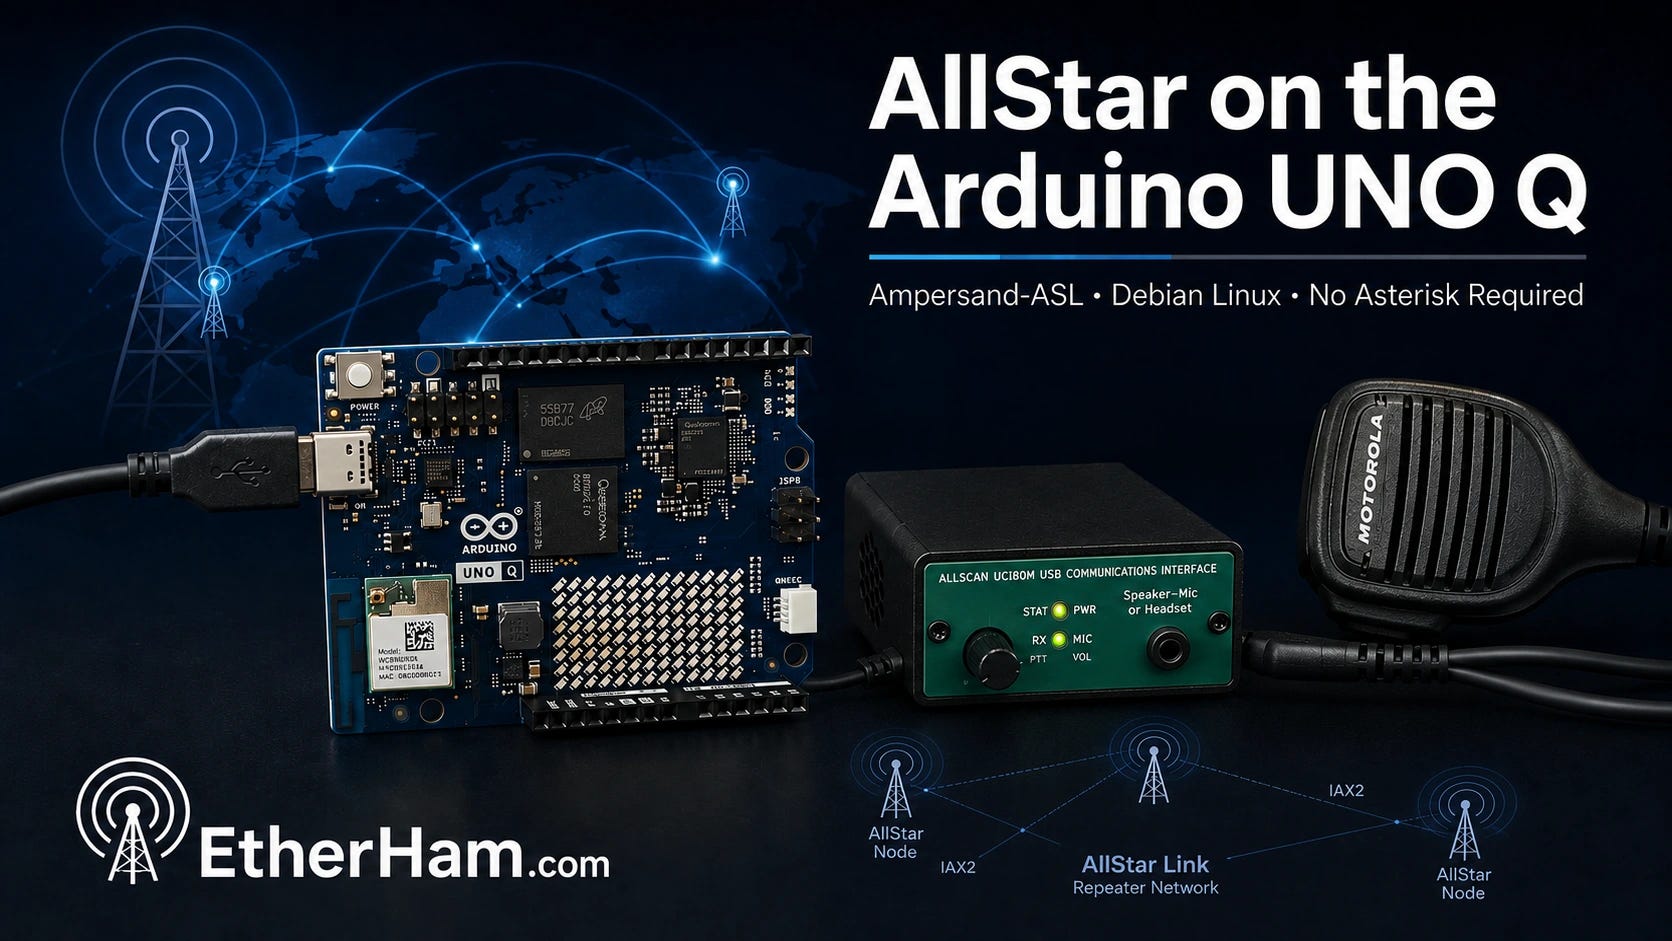
03 Built and Working: AllStar with an Arduino
I’ve been wanting to try building an AllStarLink node with an Arduino UNO Q board for a while. The UNO Q runs full Debian Linux on a Qualcomm ARM64 processor, costs around $60, and fits in your hand. If you’ve been eyeing a Raspberry Pi 4 or 5 for a project like this and balking at current prices and availability, the UNO Q is worth a serious look.
Getting AllStar running on it turned out to be more interesting than I expected. The mainstream ASL3 software stack doesn’t quite work on the UNO Q yet — the board’s custom Qualcomm kernel is missing an audio interface that ASL3 depends on. That’s being worked on, and it might be resolved by the time you read this. But today, the proven path is a project called Ampersand-ASL, written by Bruce MacKinnon KC1FSZ. Bruce built a complete AllStar node implementation from scratch in C++ — no Asterisk, no DAHDI, no kernel module compilation. Just clean code that speaks IAX2 natively and connects to the AllStarLink network the same as any other node.
I named my ASL node the QNode. It’s running on the AllStarLink network as node 588414 under KJ7T, connected via a USB radio interface and a Motorola speaker-mic. The audio quality is solid — I pulled a clip from ARRL Audio News through the node and it came back clean and clear. You can hear it below:
(For the audio fade in and out, I used Tenacity, a fork of Audacity.)

The software build itself took an afternoon, mostly because I ran into three non-obvious gotchas that anyone attempting this will hit: a HID device permissions issue that silences PTT, a missing group membership for the arduino user, and a systemd race condition that causes silent audio on every boot until you add a ten-second startup delay. None of them are hard to fix once you know what you’re looking at.
I’ve written it all up in detail over at EtherHam, including the ASL3 situation, the full build walkthrough, and the troubleshooting steps. If you want to put an AllStar node together on a budget and don’t mind building from source, this is a genuinely satisfying project. The article is titled How to Run AllStar on the Arduino UNO Q and it’s live now at EtherHam.com.

04 SuzieQ Gets a Job: FT8 with an Arduino
A subscriber sent me a note a few weeks ago saying he’d gotten WSJT-X and GridTracker2 running on an Arduino UNO Q. That was enough for me.
I spent a Saturday getting it working on my own UNO Q (named SuzieQ) which now lives next to the IC-7300MK2 in the sun room. The short version: it works, and it works well, with WSJT-X decoding signals, GridTracker2 painting stations on a world map, QSOs logging automatically to QRZ. All this runs headless on a board half the size of a playing card, accessible from anywhere in the house via RustDesk. I made the first confirmed QSO from the other side of the house, which felt like the right way to prove the point.
The total hardware cost — UNO Q, case, power supply, and USB hub — came to $120. For comparison, a 4GB Raspberry Pi 4B kit with storage runs $130 and up today, and with that you are stuck with a microSD card instead of the UNO Q’s soldered eMMC. I’m not saying the Pi isn’t a fine machine. I’m saying the math has changed.
The full write-up is at EtherHam.com, with all the commands, settings tables, and gotchas documented in enough detail that you should be able to follow along with your own hardware. If you have a radio with USB connectivity and you’ve been thinking about a dedicated digital modes platform, this is worth your time: FT8 Digital Modes on the Arduino UNO Q: Installing WSJT-X and GridTracker2
05 Code Fix: Substack Search
In continued testing of the Substack Search tool, I discovered I didn’t code it right the first time. Searches for common terms like “Meshtastic” were returning HTTP 500 errors instead of results. The error log told the story: fts5: missing row 63 from content table. The full-text search index and the posts database had gotten out of sync.
The culprit was the update tool — the web page that lets me upload a fresh Substack export zip to add new issues to the index. The original code was doing incremental updates: deleting each post’s entry from the search index and reinserting it. That approach scrambled the internal row numbering that SQLite’s FTS5 search engine depends on, and searches started failing.
The fix was straightforward once the problem was clear. Instead of updating the search index one post at a time, the new code processes all the posts first and then rebuilds the entire index in a single clean pass. The result is the same — all posts indexed and searchable — but the internal bookkeeping stays consistent no matter how many times you run it.
If you grabbed the code from the EtherHamRadio/substack-search repository before this week, pull the updated update.php. If you built your initial database using Claude as described in the article, you may also need to rebuild the database from a fresh Substack export — the corruption only affects databases that have been through the update tool at least once.
06 In the Shack
Some Trouble with WPSD
I had some trouble with my Raspberry Pi 5 hotspot running the great WPSD software. My Wi-Fi would no longer connect and the region showed AD (Andorra), not US. When I reconfigured and hit save, nothing actually saved. I could boot up with the Ethernet cable connected and all was well. But I had no Wi-Fi connection: my router didn’t see the device and my settings wouldn’t save.
I downloaded a backup of the configuration and burned a fresh image, then booted up while connected via Ethernet. That gave me the opportunity to configure Wi-Fi, and this time, it saved it. Then I disconnected the Ethernet cable and rebooted again. After a few minutes, the dashboard came up. I restored my saved backup and the hotspot was functioning once again over Wi-Fi.
At first I thought: did I find a bug? But as I ran through the logic chain in my mind, I realized it was more likely the microSD card had become corrupted. To eliminate that possibility, I started over fresh. It turns out this was the right move.

If your Wi-Fi settings aren’t saving and your region keeps reverting, don’t waste time troubleshooting — just burn a fresh image. It’s faster than chasing a corrupted filesystem.
A few days later, it wouldn’t boot. Eventually, I removed the cover and pulled off the MMDVM hat. Then it booted cleanly. While it was running, I put the MMDVM hat back on and suddenly there was my display. I suspect a bad connection on one of the GPIO pins…could be due to heat, could be oxidation. In any event, once I re-seated the hat, my problem went away.
And then I noticed my Raspberry Pi 4-based WPSD was set on simplex, not duplex. The modem version matched, so I wondered: if I restored my saved RPi 5 hotspot configuration to the RPi 4 machine, would it work? It should, since the hats were the same. At least that’s what I postulated, so I tried it. And it did work. My separate frequencies for TX and RX came in on the RPi 4 machine after restoring the RPi 5 backup to it. One gotcha, though: the hostname carried over from the RPi 5 backup to the RPi 4. This was easy to correct in the configuration screen.
Now I have two hotspots with frequencies programmed exactly the same, meaning one is now turned off and waiting in the wings in case my primary hotspot bites the dust.
ToughBook Battery, Part 2
I mentioned last week that the batteries in my old Panasonic ToughBook MK2 laptop appeared to be (a) original and (b) worn out. Accordingly, I bought a generic replacement battery and crossed my fingers that it would work. Well, it worked great. After charging it in the laptop, I got several hours of operating time from the battery. I ran it until the laptop shut down to condition it (although new tech batteries probably don’t need it like the older ones did).
The cost of the battery for the media bay is rather high — about twice the cost of the main battery for only 2/3 of the contained watts. The better play is to buy a media drive for that bay (done!) and buy a second main battery as a spare (not done). One main battery plus a spare will give me plenty of cushion for a long POTA session with the ToughBook.
Just Arrived: APRS Digipeater
My APRS device is being shipped from halfway across the planet, from Mugla, Turkey, to be exact. Surprisingly, it took just seven days for this to arrive on my doorstep.
This is the LightAPRS Gateway 1.0 sold by QRP Labs, and I’ve posted my first impressions in LightAPRS Gateway 1.0 — First Impressions.
DAC for laptop and headphones
I like small, capable devices. And I like listening to music while I work, often with headphones rather than earbuds. My Surface Laptop 7 computer has a 3.5mm audio jack but not all of my computers are so equipped, so several months ago, I bought a USB-C digital audio converter:
Moondrop Echo-A 32Bit/384kHz Portable USB Type-C to Headphone DAC/AMP with 3.5mm Audio Jack Adapter (this is an affiliate link)
The current cost of the Moondrop DAC is $22 but when I bought it, it was on a deal for about one-half that. Does it work? Yes.
This week, I tried a newer, similar product, for $18:
USB C to 3.5mm Headphones Adapter, Dual Chip CX31993 MAX97220 DAC Dongle with HiFi Amplifier, 8-Strand 4N Single Crystal Copper Silver-Plated Cable, USBC to aux for All USBC Devices (this is an affiliate link)
I can’t actually tell the difference in sound between the two devices. Both work well to convert from USB-C to a 3.5mm headphone connection. They even work with my cell phone that has no headphone jack. Both sound great. Oh, and if you have an inline microphone with your headphones, both of these USB-C devices pass transmitted audio, too.
If you need separate lines for RX and TX, try this Creative Labs product for $19:
Creative Labs Sound Blaster Play! 3 External USB Sound Adapter for Windows and Mac. Plug and Play (No Drivers Required). Upgrade to 24-Bit 96Khz Playback (this is an affiliate link)
I have all three devices. They all work well.
USB Dongle Board
As I was digging through the parts drawer, I found a GeekWorm USB Dongle Board (this is an affiliate link) stuffed all the way in the back. Apparently, I bought it in 2025, mounted it to a Raspberry Pi Zero 2W, and then it migrated to the dark recesses of the drawer. The dongle costs $8.
What does it do? The Geekworm USB Dongle Board converts a Raspberry Pi Zero or Zero 2 W into a USB stick form factor by adding a full-size USB-A connector, allowing it to plug directly into any USB-A port. When configured for USB gadget mode, the Pi can present itself to the host computer as a network adapter, serial device, or keyboard — or it can simply draw power from the port while communicating wirelessly over WiFi.
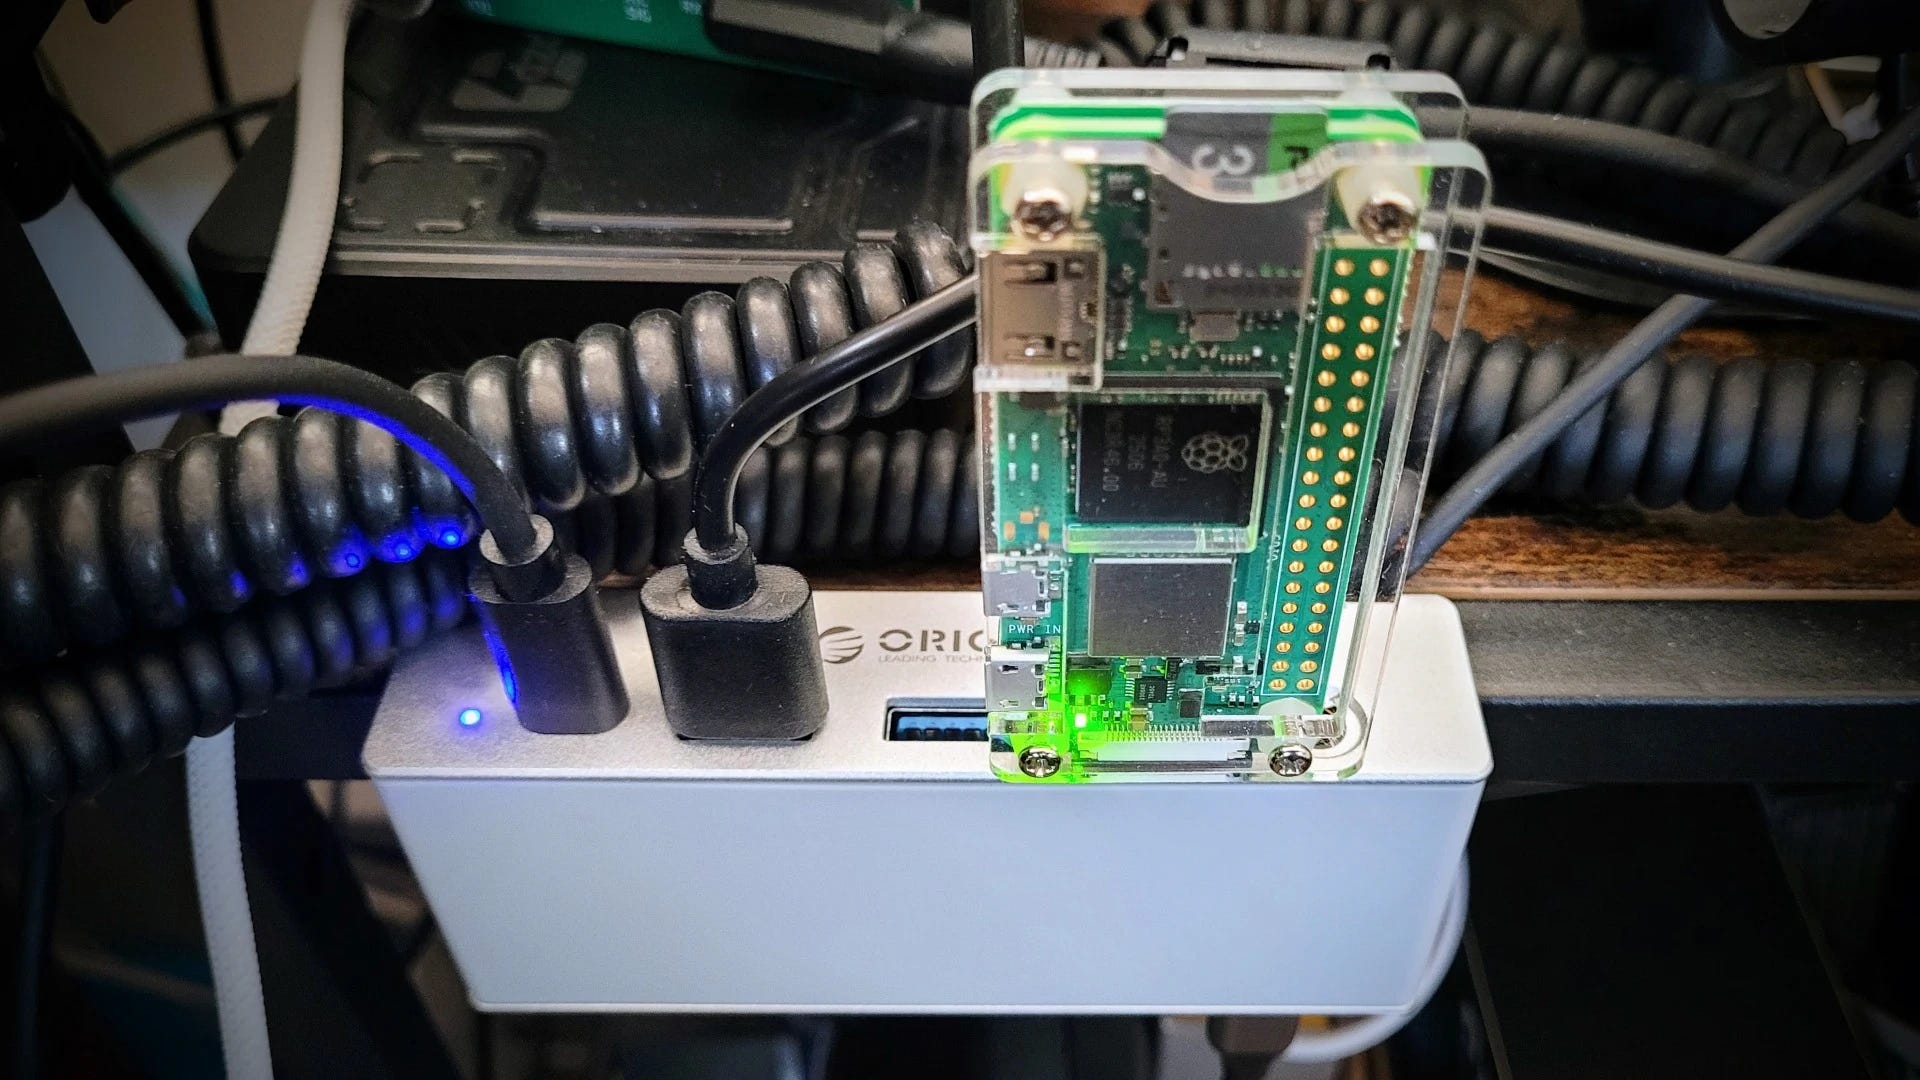
I did not configure it in gadget mode. Instead, I have it plugged into my ORICO USB hub ($34, this is an affiliate link) where it is running as a utility Debian Linux machine over Wi-Fi on my home network.
My first test? Install uCareSystem to automate system updates. Unfortunately, OpenPGP verification failed, and the alternative methods to install the key also failed. The good news? I didn’t impact one of my working systems with this test!
07 Opinion: Just Read the Manual
For years, I’ve been seeing the same response when someone asks a question about how to operate a specific feature of an amateur radio: just read the manual. I saw it again this week when someone on Facebook asked a question I didn’t know the answer to — despite having read the manual myself, more than once.
It used to be easier. Fewer configuration choices meant the radio had buttons and dials instead of deeply nested menus. Manuals were logically organized and clearly written. Those days are largely gone, at least for the handheld transceivers that arrive at my door from distant lands.
Today, the manual is often poorly written in English — sometimes a translation, sometimes written by someone whose language skills don’t quite meet the demands of clear technical writing. And since many of us are now above a certain age, our memory may not retain information the way it once did. I recognize that the sponge in my head is simply not as absorbent as it used to be.
So there are three real problems with “just read the manual” advice: manuals that are poorly organized — or in the case of at least one radio brand I’ve wrestled with, nonexistent; English that isn’t up to the task of technical guidance; and the perfectly normal fact that human memory fades over time.
Telling someone to “just read the manual” solves nothing. I don’t think the people who say it realize how they come across to others.
The good news is that they’re easy to ignore — and doing so leaves more room to appreciate the hams who genuinely want to help others learn. That community is larger, and it’s the one I choose to spend my time with.
08 Short Stack of Internet Finds
There’s just not a lot for the Short Stack this week, which is a surprise, considering Amazon Prime Day sales and Field Day events.
Radio
-
SwR Shortwave Radio: A New Android App for Listening to Public Online Shortwave Receivers — “This is an Android-only app that lets users easily listen to KiwiSDR and Web-888 receivers. The app appears to be free, with no in-app purchases.”
-
The Ultimate Handheld Walkie-Talkie Guide for Amateur Radio Beginners — “This comprehensive guide breaks down how to choose your first HT, why more functions cost more money, the best upgrades for portable operation, and the top brands dominating the global market.”
Software
-
DokuWiki Markdown Support — This may only matter to me, but… DokuWiki is a flat-file wiki system that I truly love. Except for the DokuWiki editor which does not match standard Markdown formatting. It looks like Markdown support will soon be baked into the core, and I think this is a tremendous thing.
09 QRT: End Transmission
I began crafting Random Wire 188 on Sunday, June 21: Father’s Day. It was a bittersweet moment as I recalled my father who walked on some years ago. This week, I replaced the mailbox Dad put up by the road oh, about 20 years ago. The metal bracket had become weakened due to rust and the wooden bits had grown quite soft. Frankly, I’m surprised the postal delivery person didn’t complain. It was a rickety thing.
But what I found endearing as I deconstructed Dad’s construction were the several generations of fixes Dad had implemented. I could see the first installation: a couple of lag bolts to secure the bracket to the 4×4 post and a couple of machine bolts to hold the mailbox to the bracket. And then there was a plywood bracket he added as the lag bolts lost their purchase, apparently to try to stabilize the main bracket. Finally, there were several applications of deck screws, inserted at various angles, to hold things together as the whole assembly began to weaken.
He would have installed the mailbox around age 70. As he and the mailbox aged, his reasoning got softer just as the mailbox support system did. I could see that by how he tried to use deck screws — probably in his 80s — to hold it all together. As I removed Dad’s work and replaced it with my own, I felt very close to him. Happy Father’s Day, Dad.
73, and remember to touch a radio every day!
